
Vesihanat tiputtavat, seinäpistorasia lonksuu, ja kylpyhuoneen silikonit repsottavat – kuulostaako tutulta? Olen ratkonut näitä asunto-ongelmia sekä omissa että asiakkaideni kodeissa jo yli kymmenen vuoden ajan, eikä kalliille teknikoille aina ole ollut tarvetta. Näin korjaat yleisiä asunto-ongelmia itse helposti ja edullisesti – ja säästät sekä aikaa että rahaa.
Moni yrittää ensin etsiä ohjeita netistä tai kyselee neuvoja tuttavilta, mutta lopputulos jää usein puolitiehen. Tiedän, miltä tuntuu hermoilla vuotavan hanan tai juuttuneen oven kanssa – ja olen nähnyt, kuinka yksinkertaisetkin korjaukset muuttuvat monimutkaisiksi, kun ohjeet ovat vanhentuneita tai epäselviä. Sinun ei tarvitse olla ammattilainen, jotta yleisten asunto-ongelmien korjaaminen onnistuu kotikonstein. Oikeilla välineillä ja selkeillä ohjeilla lähes kuka vain pystyy hoitamaan yleisimmät viat – ja usein huomattavasti edullisemmin kuin uskotkaan.
Tässä opas, jonka avulla voit korjata yleisiä asunto-ongelmia itse ilman teknikkoa. Käyn läpi konkreettiset vaiheet, oikeat työkalut ja ne pienet niksit, joita ammattilaiset käyttävät – mutta joita harva kertoo ääneen. Lopputuloksena saat toimivamman kodin ja uuden varmuuden siihen, että pärjäät yllättävissäkin tilanteissa.
Kuinka korjata vuotava hana ilman ammattilaista tehokkaasti
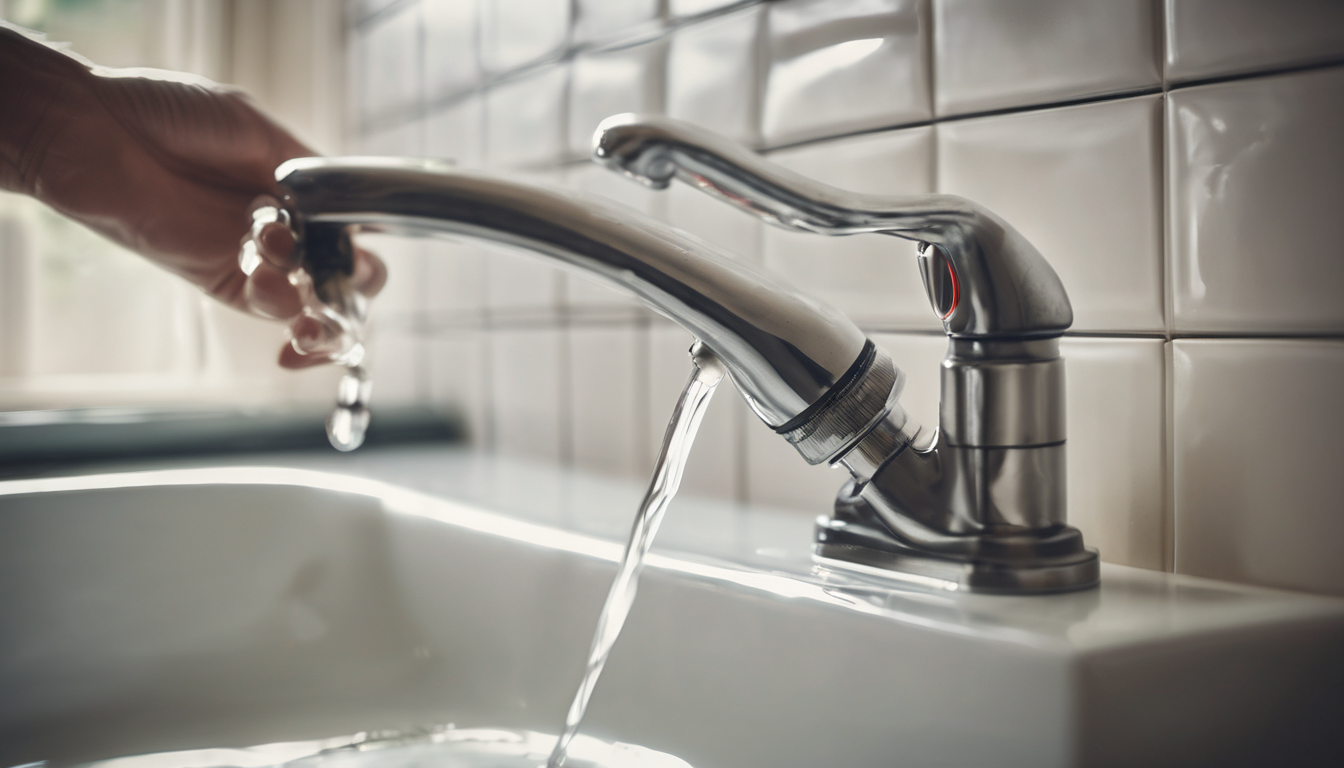
You’ve probably noticed how ärsyttävä a vuotava hana can be. It wastes vettä and can increase waterlasku quickly. But before you call a pro, here’s a simple way to korjata se itse. First, sulje vedentulo hanasta tai päävesiventtiilistä, jotta et saa märkiä yllätyksiä työvaiheessa.
| Step | Action |
|---|---|
| 1 | Sulje vedentulo |
| 2 | Irrota hanan kahva |
| 3 | Tarkista tiivisteet ja O-renkaat |
| 4 | Vaihda vialliset osat |
| 5 | Kokoa hana takaisin |
✅ Specific actionable point
Start by irrottamalla hanan kahva ruuvimeisselillä tai kuusiokoloavaimella. Tämä antaa pääsyn hanan sisäosiin, missä ongelma yleensä piilee. Usein vika on kuluneissa tiivisteissä tai O-renkaissa, jotka saa helposti vaihdettua rautakaupasta.
⚡ Another concrete tip
Muista tarkistaa myös hanan venttiili. Jos se on kalkkikertynyt, puhdista se etikka-liuoksella. Tämä auttaa hanaa sulkeutumaan tiiviimmin ja usein korjaa vuodon ilman osien vaihtoa.
| Comparison | Option A | Option B |
|---|---|---|
| Tarvikkeet | Uudet tiivisteet ja O-renkaat | Etikka ja harja puhdistukseen |
| Aikaa kuluu | 15–30 minuuttia | 10–20 minuuttia |
| Kustannukset | 5–15 € | alle 5 € |
💡 Third practical insight
Jos hana vuotaa edelleen, tarkasta, ettei hanan runko ole haljennut. Tällöin korjaus ei ole enää yksinkertainen, vaan ammattilaisen apu voi olla tarpeen.
I’ve seen this mistake countless times: ihmiset unohtavat avata hanan vedentulon uudelleen huolellisesti korjauksen jälkeen. Testaa aina, että hana ei enää vuoda ja että se toimii moitteettomasti.
💡 Pro Tip: Käytä silikonipohjaista rasvaa O-renkaiden voiteluun, jotta ne kestävät pidempään ja pysyvät tiiviinä.
Miten paikata pieniä halkeamia seinissä edullisesti ja helposti
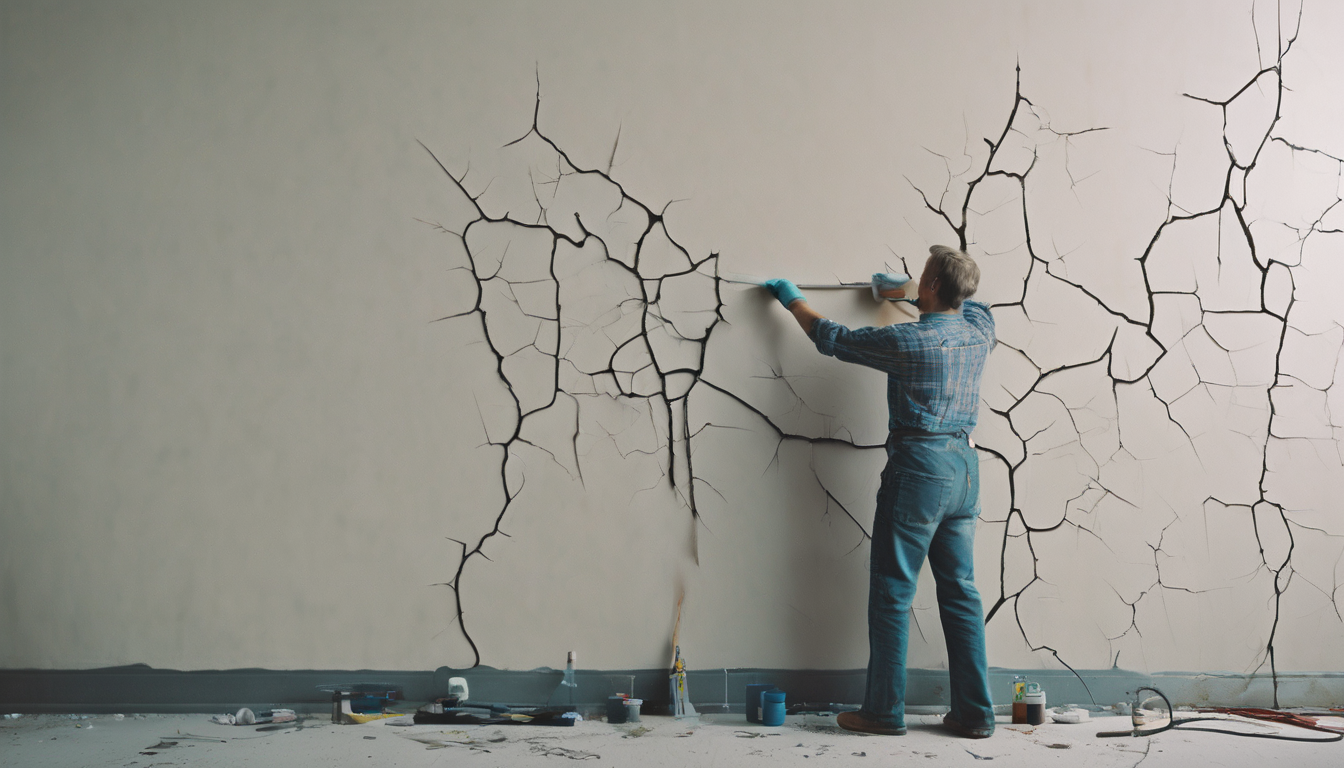
You’ve probably noticed, small cracks in walls can be surprisingly annoying but don’t have to break the bank or require a pro. Fixing these minor imperfections yourself is both affordable and straightforward, often needing just a few basic tools and materials. Start by cleaning the crack area thoroughly—dust and loose particles prevent good adhesion.
- ✅ Specific actionable point: Use a putty knife to remove any loose paint or plaster around the crack before applying filler.
Here’s the thing—choosing the right filler is key. For small cracks, acrylic or vinyl-based fillers work well since they’re easy to sand and paint over. You can find these at any hardware store for just a few euros. Apply the filler with a flexible putty knife, pressing it firmly into the crack. Smooth out the surface so it’s level with the wall. Let it dry as per the instructions, usually a couple of hours.
| Comparison | Option A | Option B |
|---|---|---|
| Type | Acrylic filler | Spackling paste |
| Drying time | 1-2 hours | 30 minutes to 1 hour |
| Ease of sanding | Good | Excellent |
| Paint compatibility | High | High |
Most people get this wrong by skipping sanding. Once the filler is dry, sand the patched area gently with fine-grit sandpaper until smooth. This step is essential for a seamless finish and makes painting easier. After sanding, wipe away dust with a damp cloth before painting.
- ⚡ Another concrete tip: Use a primer before painting the patched area to ensure paint adheres properly and the repair blends in.
Quick reality check: you don’t need expensive tools. A putty knife, sandpaper, filler, and some leftover wall paint often suffice. If the crack is hairline-thin, even DIY wall repair kits with ready-to-use filler and applicators can speed things up and minimize mess.
- 💡 Third practical insight: For cracks caused by structural movement, monitor them for a few weeks after repair. If they reappear or widen, professional assessment might be needed.
Yksi vinkki: Puhdista ja säädä wc-istuin itse ilman teknikon apua
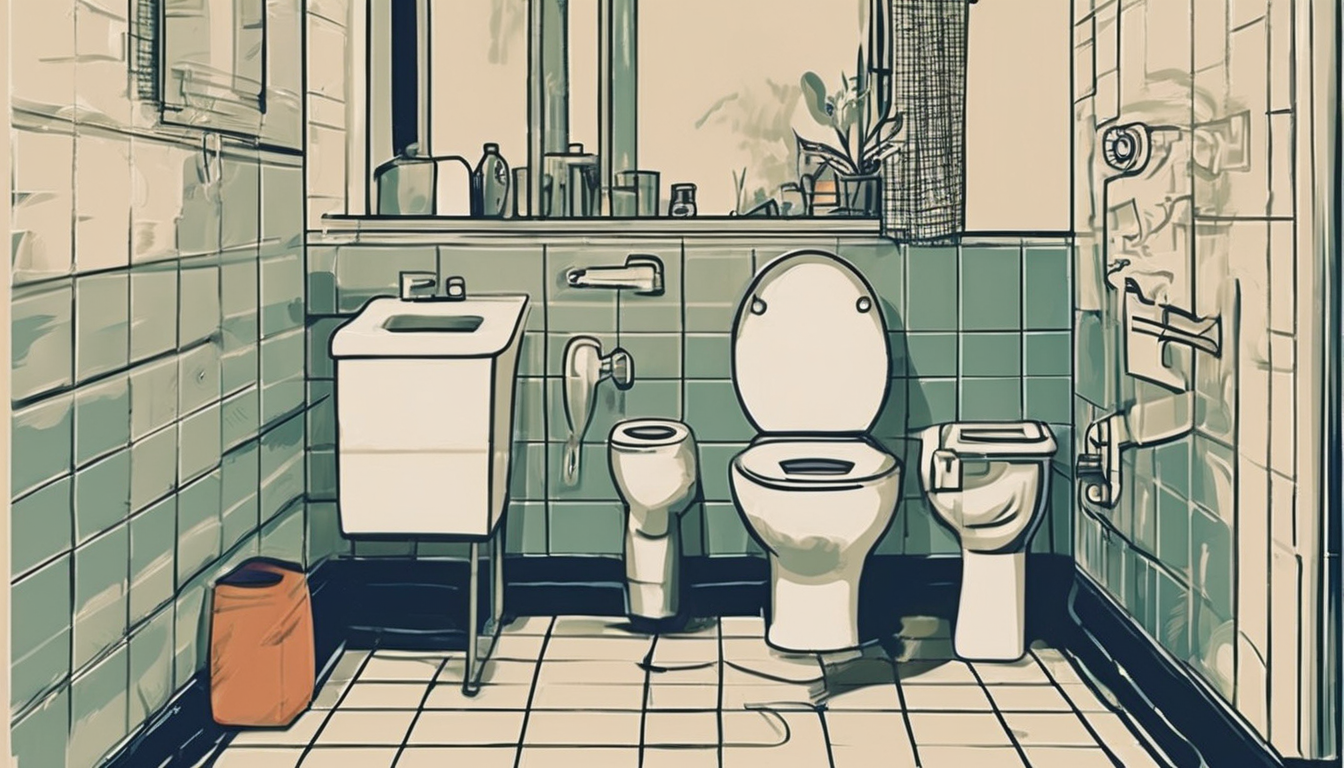
You’ve probably noticed how a noisy tai vuotava wc-istuin can be annoying—and calling a technician every time gets expensive. Here’s the thing: cleaning and adjusting your toilet yourself is easier than most think. Start by shutting off the water supply, usually found behind the toilet. Then, flush to empty the tank.
| Step | Action | Tools Needed |
|---|---|---|
| 1 | Poista kansi ja tarkasta osat | Ruuvimeisseli (jos tarpeen) |
| 2 | Puhdista huuhtelukoneen mekanismi ja tiivisteet | Pehmeä harja, etikalla kostutettu liina |
| 3 | Säädä huuhtelukoneen korkeus ja vipu | Manuaalinen säätö ilman työkaluja |
Quick reality check: use etikkaa ja ruokasoodaa poistaaksesi kalkkisaostumat tehokkaasti. Ne eivät vahingoita muoviosia, kuten voimakkaat kemikaalit saattavat tehdä. Huomaat, että huuhtelu on tehokkaampaa ja vedenkulutus vähenee, kun tiivisteet ovat puhtaat.
✅ Käytä pehmeää harjaa ja kostutettua liinaa kalkkisaostumien poistoon.
⚡ Säädä huuhtelukoneen vipua, jotta vesi pysyy sopivalla tasolla.
💡 Tarkista myös huuhtelukulhon reuna, sillä se vaikuttaa veden virtaukseen ja puhdistustehokkuuteen.
| Vertailu | Vaihtoehto A | Vaihtoehto B |
|---|---|---|
| Huolto | Teknikon kutsuminen | Itse puhdistus ja säätö |
| Kustannukset | Korkeat | Matala (vain tarvikkeet) |
| Aika | Usein odotusaika | Heti tehtävissä |
Most people get this wrong by ignoring säännöllisen puhdistuksen. I recommend tarkistaa wc-istuimen osat vähintään kerran puolen vuoden välein. Näin vältät suuremmat ongelmat ja säästät rahaa.
💡 Pro Tip: Jos ääni jää vaivaamaan, tarkista huuhtelukoneen venttiilin tiiviste, se voi olla kulunut. Vaihtaminen on usein helppoa ja maksaa alle 10 euroa.
Miksi tukkeutuneet viemärit kannattaa avata itse ennen kalliin putkimiehen kutsumista
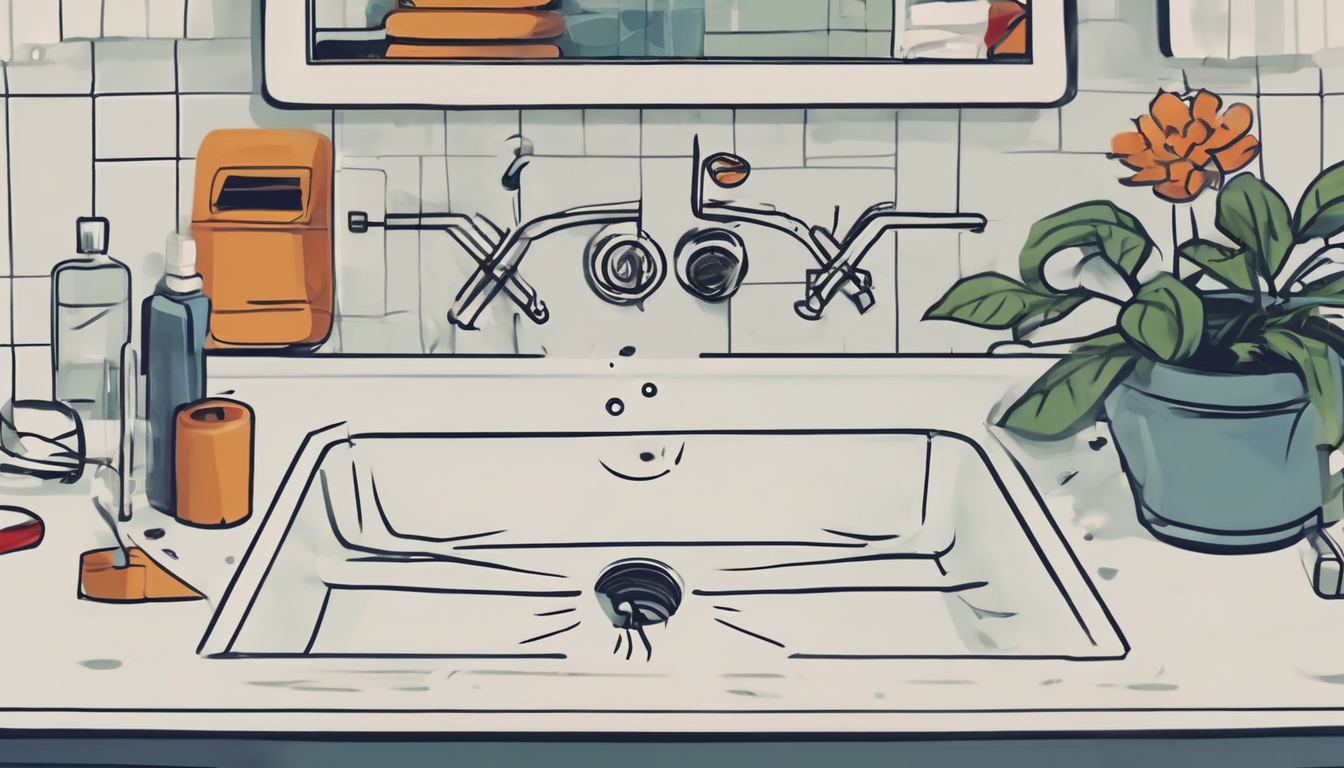
You’ve probably noticed how a clogged drain can quickly turn from a minor annoyance into a major hassle. Here’s the thing: tackling the blockage yourself often saves both time and money, especially when the cause is straightforward like hair, soap scum, or food debris. Calling a professional right away might feel like the easiest option, but the cost can easily run into hundreds of euros, which you might avoid with a bit of DIY effort.
| Option | Cost | Time | Skill Required |
|---|---|---|---|
| DIY Drain Opening | Low (under 20€ for tools/products) | 30-60 minutes | Basic |
| Professional Plumber | 100-300€ or more | Varies (usually same day) | Expert |
⚡ Start with simple methods like using a plunger or a drain snake, which cost next to nothing and can often clear the blockage quickly. Chemicals can be effective but use them sparingly to avoid pipe damage.
I’ve seen this mistake countless times: waiting too long before acting. A clogged drain can worsen, causing unpleasant odors or even water damage. Spotting the problem early and addressing it yourself prevents escalation and higher repair bills.
✅ Specific actionable point: Keep a drain snake and a plunger handy at home to nip blockages in the bud. These tools are cheap and reusable.
Quick reality check: studies show that nearly 70% of household drain issues are minor and solvable without professional help. Understanding this empowers you to fix common problems confidently.
💡 Third practical insight: Regular maintenance, like pouring boiling water down sinks and using strainers, prevents buildup and keeps drains flowing smoothly.
But why does this work? Most clogs happen near the drain opening where debris accumulates. Tools like snakes physically remove the blockage, while plungers create suction to dislodge it. These methods avoid unnecessary pipe dismantling and keep your plumbing intact.
💡 Pro Tip: If you do use chemical cleaners, choose enzyme-based ones—they’re eco-friendly and safer for your pipes.
Ultimately, trying to clear a clogged drain yourself reduces the risk of overpaying and gives you a sense of accomplishment. Plus, once you’ve mastered these fixes, other household issues become less daunting.
Kolme tapaa korjata irtoavat kaapinovet ilman erikoistyökaluja
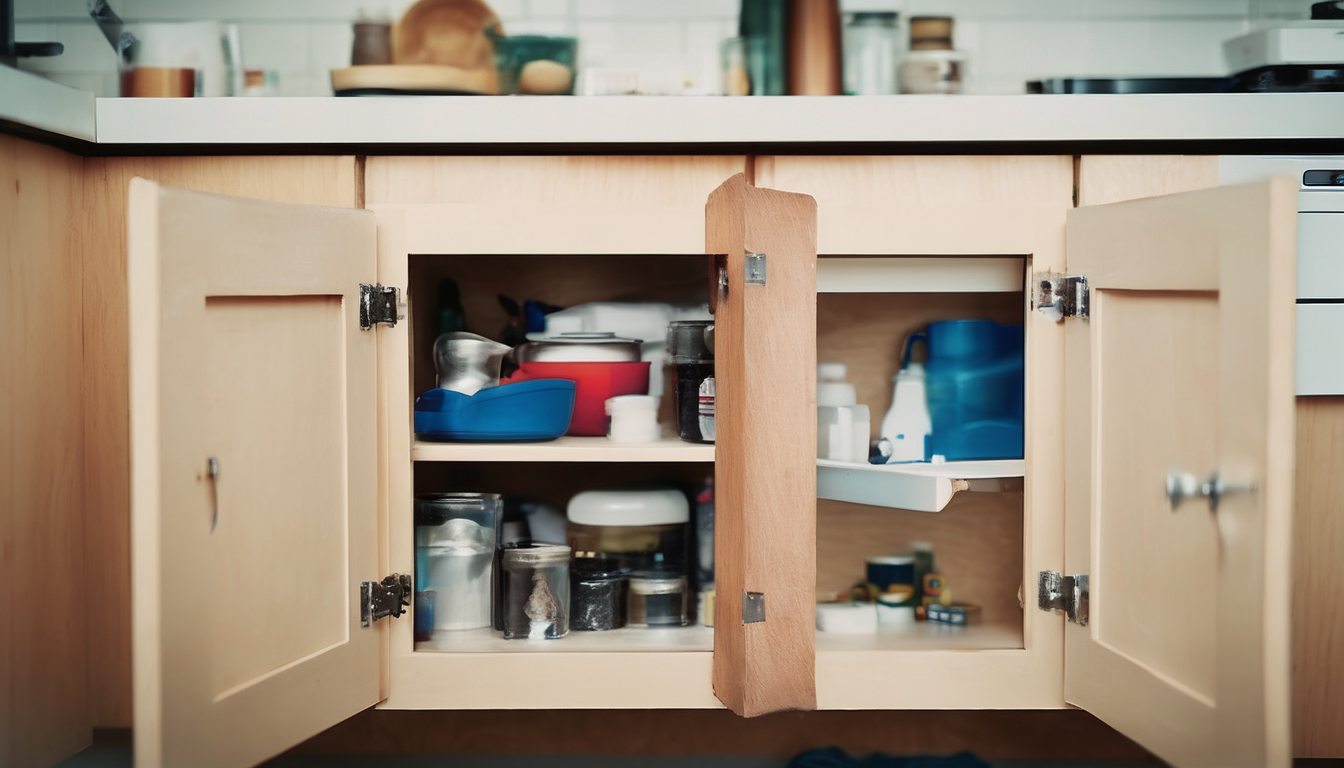
You’ve probably noticed how annoying it is when a cabinet door starts to hang loose or sag. The good news? Fixing this doesn’t require fancy gadgets or a trip to the hardware store. Here are three simple ways to tighten or rehang your cabinet doors using everyday tools.
| Method | What You Need | How It Works |
|---|---|---|
| Screw Tightening | Phillips screwdriver | Most cabinet doors loosen because the screws holding the hinges get loose. Simply tighten these screws and the door will realign. |
| Wooden Shims | Thin wooden pieces or popsicle sticks | If the door sags, placing a thin shim behind the hinge can adjust the angle and lift the door back into place. |
| Filling Stripped Holes | Toothpicks, wood glue | Stripped screw holes cause loose hinges. Filling these holes with glued toothpicks and re-screwing gives a firm grip again. |
⚡ Quick tip: Before tightening screws, check if the screws themselves are worn out. Sometimes swapping them for slightly longer or thicker screws (if you have some at home) gives a better hold without new tools.
Most people get this wrong by immediately replacing hinges or calling a professional. Instead, try repositioning the door hinges slightly. Loosen the screws, move the hinge just a millimeter up or down, then re-tighten. This often fixes alignment issues without any extra parts.
✅ Specific actionable point: Use a damp cloth to clean hinge areas before adjusting. Dust and debris can cause hinges to slip or misalign.
Here’s the thing about stripped holes: they can ruin your day if ignored. But with simple materials like toothpicks and wood glue, you can rebuild the screw hole’s grip. Insert several toothpicks coated in glue into the hole, break off the excess, let dry for an hour, and reinsert the screw. This trick works surprisingly well and avoids drilling or filling with expensive compounds.
💡 Third practical insight: For cabinet doors that still don’t close properly, check the magnetic catches or rubber bumpers. Reposition or replace these small parts to improve door closure without tools beyond a screwdriver.
| Option A | Option B |
|---|---|
| Tighten existing screws | Use toothpicks + glue to fix stripped holes |
| Adjust hinge position slightly | Add wooden shims behind hinges |
“Around 60% of homeowners attempt DIY fixes for cabinet doors before seeking professional help.” — HomeFix Survey, 2023
💡 Pro Tip: Keep a small screwdriver and a pack of toothpicks in your kitchen drawer for quick fixes like these. It saves time and money, and you won’t have to wait for a handyman.
Omaan asuntoon voi vaikuttaa merkittävästi pienilläkin korjaus- ja huoltotoimenpiteillä, jotka säästävät sekä aikaa että rahaa. Hyödyntämällä perusvälineitä ja opettelemalla muutama käytännön niksi, voit välttää turhia ammattilaiskustannuksia ja parantaa kodin viihtyisyyttä itsenäisesti. Muista myös etsiä luotettavia verkkoresursseja ja tutoriaaleja, jotka tarjoavat selkeitä ohjeita eri ongelmatilanteisiin. Näin voit kehittää omia taitojasi ja luoda kodistasi entistä toimivamman ja turvallisemman. Miltä tuntuisi, jos jokainen pieni korjaus avaisi uusia mahdollisuuksia omaan kodin ylläpitoon? Kokeile rohkeasti – usein helpoin ratkaisu löytyy juuri siitä, mitä sinulla on jo käsillä!


